electron+react+gas+spreadsheetでgoogle calender用のスケジューラーを作る(3)
こんにちは!株式会社スマレジ、開発部のmasaです。
今更なんですが、このブログもう4年になるんですね。つまり入社してもう5年目。。。 この業界で同じ会社に4年いるのって長いんでしょうか? 今いるチームでは僕が一番古株なんですが、うちの会社は長い人だと10年以上の人もいるので、 あまり長いって感じがしないんですよね笑
まあ、それだけ働きやすい職場ってことなのかもしれないですね。
と言うわけで、スマレジでは一緒に働いてくれる仲間を募集しています。(定期)
今、このリンクを貼るのに「スマレジ 採用」でググったら採用難易度とか出てきました。
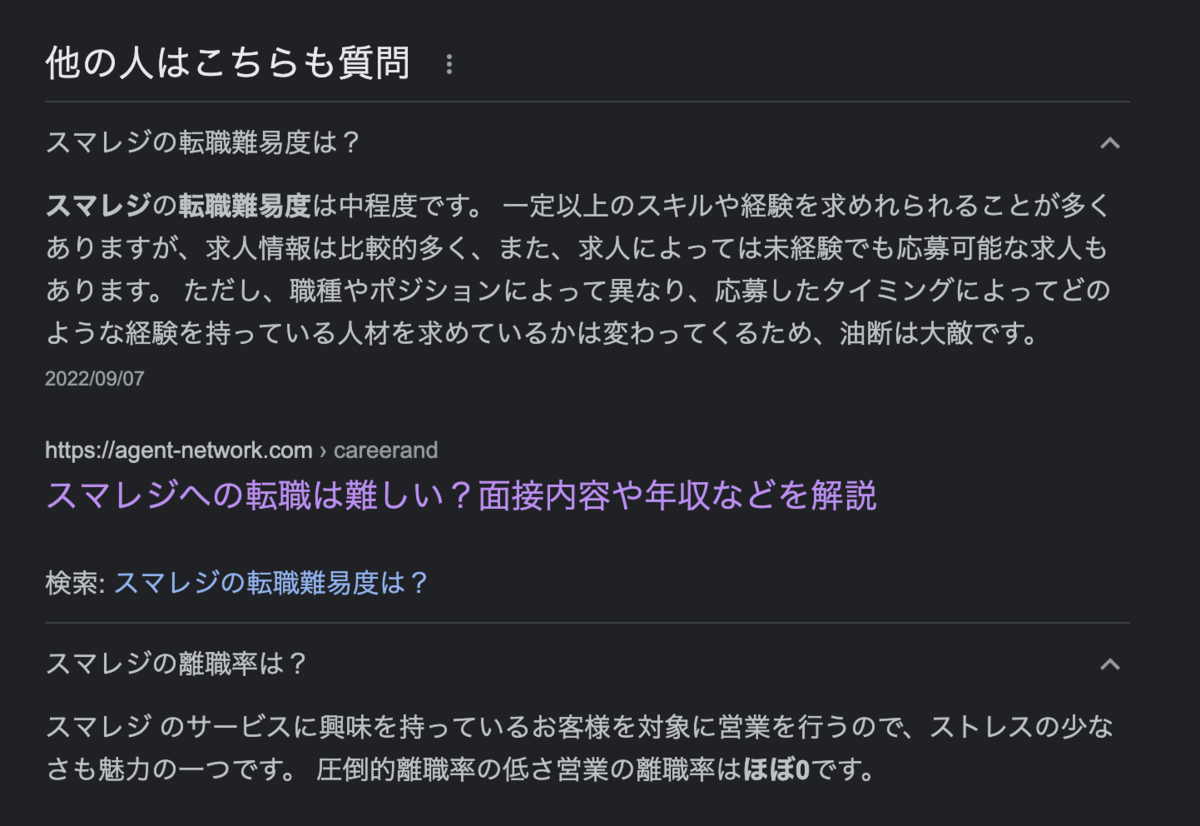
離職率ほぼ0は書いてあるように営業ですね。これは本当だと思います。 (社員が言うんじゃ説得力ないですが笑) エンジニアはやっぱり一定の流動性があります。ただ業界内でめっちゃ高いとかはないので、 業界特性なんかなーと思っています。あと、偉い人がコロコロ変わったりとかはないです。 それがいいのかどうかはわからないですが、上司が変わって仕事のやり方がコロコロ変わるとかはないです。
話がそれましたが、今日はreact側のお話。
新しいプロジェクト(バージョン)を作るときにredmineチケットのテンプレートを登録するようにする
前回、プロジェクトでルーティンで実施するMTGや作業について、Google Calendarに登録する仕組みを紹介しました。 利用しているAPIと利用箇所のリンク中心でしたが、詳しい仕組みなんかはコードを追っかけてください。
今回は、上のカレンダーとセットでRedmineで毎回作るチケットについて、テンプレートマスタをスプレッドシートで用意しておいて、 それをGASで作ったAPIで読み込んで読み込んだ情報を元にRedmineに登録する仕組みを作っていきます。
完成系はこんな感じです。(まだ見た目だけですが)

左側のツリーを開くと、チケットの概要が出てきて、タイトルやfrom-toと概要について編集できるようになっています。 実際はこれにチェックボックスを追加して、「そのバージョンで使うチケットと使わないチケット」を切り替えられるようにする予定です。
ソースコード(作成中)
まだ作成中なんですが、こんな感じです。
import React from 'react';
import './template-ticket-tree.css';
import {TreeView, TreeItem} from "@mui/lab";
import ExpandMoreIcon from '@mui/icons-material/ExpandMore';
import ChevronRightIcon from '@mui/icons-material/ChevronRight';
import MDEditor from '@uiw/react-md-editor';
import Datetime from 'react-datetime';

export class TemplateTicketTree extends React.Component {
    constructor(props) {
        super(props);
        this.renderTree = this.renderTree.bind(this);
        this.render = this.render.bind(this);
        this.setTicketDetail = this.setTicketDetail.bind(this);
        this.searchNode = this.searchNode.bind(this);
        this.setLabel = this.setLabel.bind(this);
        this.tree = React.createRef();
        this.tree = this.props.tree;
        this.state = {
            id: "",
            label: "",
            startDate: "",
            endDate: "",
            content: "",
            callback : this.props.callback
        };
    }

    searchNode(id, nodeId) {
        if (typeof nodeId === "undefined") {
            nodeId = this.tree[0].id;
        }
        let node = null;
        for (let i = 0; i < this.tree.length; i++) {
            if (this.tree[i].id === nodeId) {
                node = this.tree[i];
            }
        }
        if (id === nodeId) {
            return node;
        }
        let search = null;
        for (let i = 0; i < node.children.length; i++) {
            search = this.searchNode(id, node.children[i]);
            if (search !== false) {
                return search;
            }
        }
        return false;
    }

    setTicketDetail(node) {
        const searchNode = this.searchNode;
        let resFunc = function() {
            const targetNode = searchNode(node.id);
            this.state.id = targetNode.id;
            this.state.content = targetNode.content;
            this.state.startDate = targetNode.startDate;
            this.state.endDate = targetNode.endDate;
            this.state.label = targetNode.label;
            this.setState(this.state);
        }
        resFunc = resFunc.bind(this);
        return resFunc;
    }

    setLabel(e) {
        this.setState({
            label: e.target.value
        })
        let node = this.searchNode(this.state.id);
        node.label = e.target.value;
        this.state.callback(this.state.id, node);
    }

    renderTree(node) {
        const tree = <TreeItem nodeId={node.id} label={node.label} onClick={this.setTicketDetail(node)}></TreeItem>;
        tree.props.children = [];
        for (let i = 0; i < node.children.length; i++) {
            for (let j = 0; j < this.tree.length; j++) {
                if (this.tree[j].id === node.children[i]) {
                    tree.props.children.push(this.renderTree(this.props.tree[j]));
                }
            }
        }
        return tree;
    }

    render() {
        return (
            <div className={"container"}>
                <div className={"row"}>
                    <div id={"screen"} className={"col-3"}>
                        <div className={"tree-container"}>
                            <TreeView
                                aria-label="template ticket tree"
                                defaultCollapseIcon={<ExpandMoreIcon />}
                                defaultExpandIcon={<ChevronRightIcon />}
                                sx={{ height: 240, flexGrow: 1, maxWidth: 400, overflowY: 'auto' }}
                            >
                                {this.renderTree(this.tree[0])}
                            </TreeView>
                        </div>
                    </div>
                    <div id={"ticket-info"} className={"col-9"}>
                        <div className={"container"}>
                            <div className={"row g-1"}>
                                <div className={"col-auto"}>
                                    <label>
                                        タイトル:
                                    </label>
                                </div>
                                <div className={"col-auto"}>
                                    <input
                                        type="text"
                                        id={"title"}
                                        value={this.state.label}
                                        class="form-control"
                                        onChange={this.setLabel}
                                        maxLength={128}
                                    />
                                </div>
                            </div>
                            <div className={"row g-1"}>
                                <div className={"col-auto"}>
                                    <label>
                                        作業期間:
                                    </label>
                                </div>
                                <div className={"col-auto"}>
                                    <Datetime
                                        id={"startDate"}
                                        value={this.state.startDate}
                                        locale={"ja"}
                                        dateFormat="YYYY-MM-DD"
                                        timeFormat={false}
                                    />
                                </div>
                                <div className={"col-auto"}>
                                    <span className="form-control-plaintext">~</span>
                                </div>
                                <div className={"col-auto"}>
                                    <Datetime
                                        id={"endDate"}
                                        value={this.state.endDate}
                                        locale={"ja"}
                                        dateFormat="YYYY-MM-DD"
                                        timeFormat={false}
                                    />
                                </div>
                            </div>
                            <div className={"row"}>
                                <div className={"col-12"}>
                                    <MDEditor
                                        value={this.state.content}
                                        onChange={(e) => this.setState({content: e})}
                                    />
                                </div>
                            </div>
                        </div>
                    </div>
                </div>
            </div>
        );
    }
}
呼び出しもとはこんな感じ.
    renderTemplateTicketTree() {
        return (<TemplateTicketTree tree={this.state.templateTicketTreeInfo} callback={this.updateTreeInfo}></TemplateTicketTree>);
    }
tree propsにスクショ左側のチケットツリーの情報を渡してあげる感じです。callbackは子→親へのデータ受け渡し用。
渡すデータの構造はこんな感じ。
[
                {
                    id: "1",
                    label: "プロジェクトチケット",
                    startDate: "2023-01-23",
                    endDate: "",
                    content: "test",
                    children: ["2","3",]
                },
                {
                    id: "2",
                    label: "テストチケット(POS)",
                    startDate: "",
                    endDate: "",
                    content: "test2",
                    children: []
                },
                {
                    id: "3",
                    label: "テストチケット(在庫)",
                    startDate: "",
                    endDate: "",
                    content: "## test",
                    children: ["5"]
                },
                {
                    id: "5",
                    label: "テストチケットA",
                    startDate: "",
                    endDate: "",
                    content: "### test",
                    children: []
                }
]
利用しているtree表示とmdファイルのライブラリはnpmから利用可能です。
tree表示はMaterial UIさんのコンポーネントです。インストールコマンドは下記のサイトから。
MDファイルエディタさんはこちら。
さすがreact。コンポーネントめっちゃ充実してます。感謝。